Using this guide, we will take you step by step on how to set up and start streaming Kynto on Facebook Live! Keep the party pumping!
Download OBS
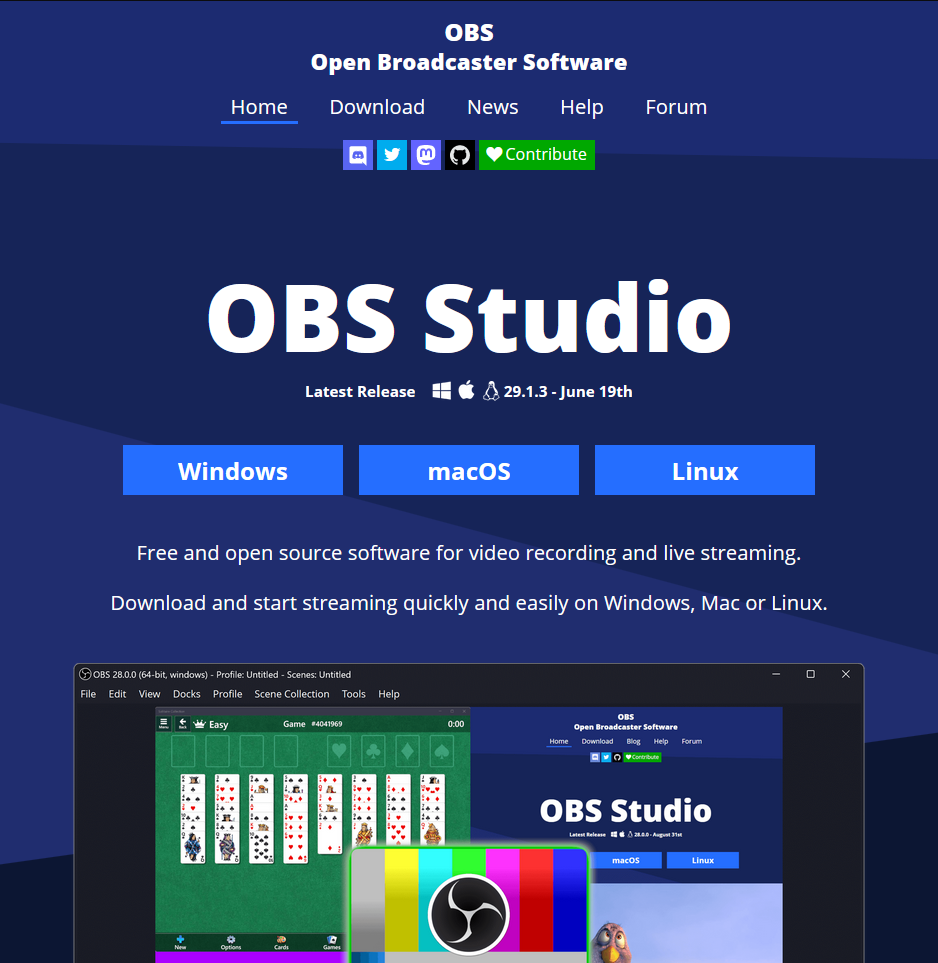
First you will need to download the OBS application from their official website. OBS is a free and open source software for video recording and live streaming. OBS is available in Windows, MacOS, and Linux. Click here to visit the OFFICIAL OBS official website.
It is important to note to check to make sure you are downloading OBS from their official site as there have been reports of fake websites using Google Ad’s to trick people to install infected software.
Install OBS to your computer.
Windows
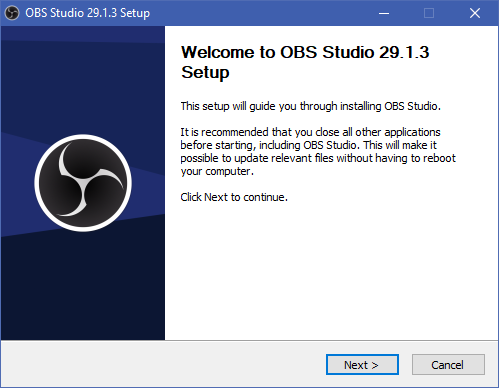
To begin the instillation process, click the “Next” button.
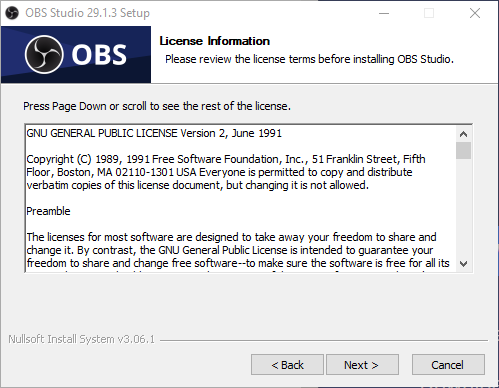
Next, read thru the terms of service.
If you agree to the terms of service click the Next button.
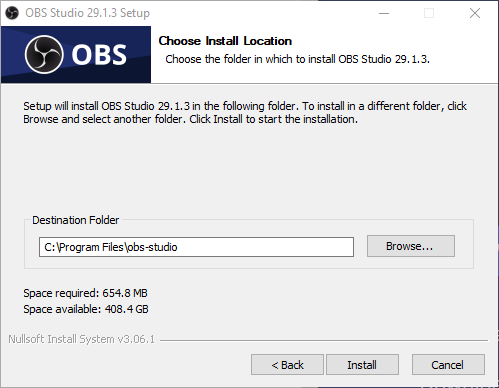
Click the Install button to run the instillation process.
Click the Finnish Button to end the Instillation Process.
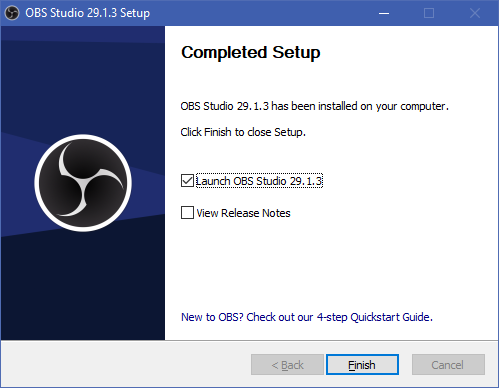
OBS is now Installed on your Windows Operating System
OSX
To install OBS to OSX download the package from the OBS website. Select which option best reflects your Mac computers internal specs.

Once you have OBS downloaded, open up the application on your Mac by double clicking on the DMG file. A pop up should appear as pictured below. With your mouse, drag and drop the OBS icon from the left onto the “Applications” folder. This will install OBS to your Mac.

How to Select Your Camera Feed
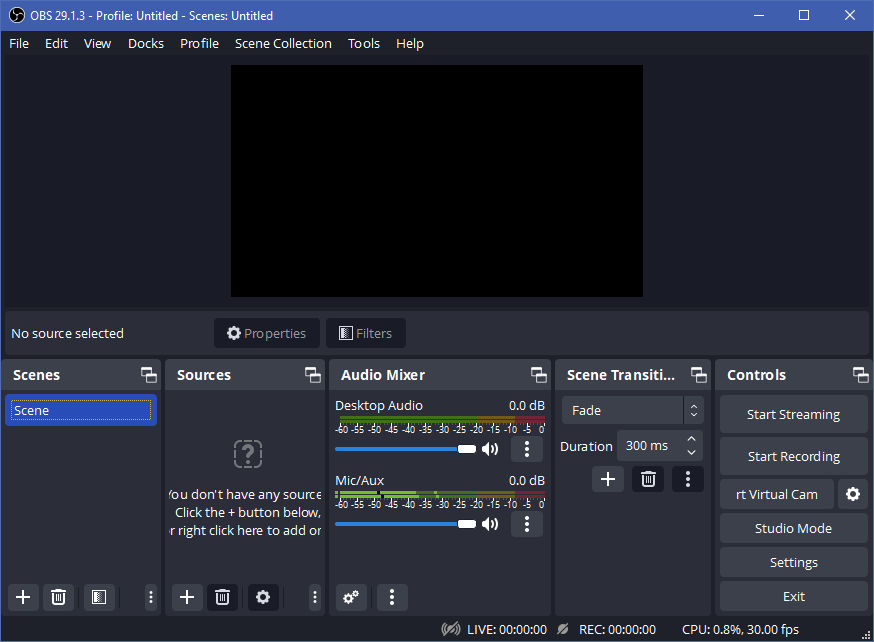
Now that you have OBS installed to your computer. It is time to select the camera feed that you would like to record or broadcast to your audience. You can select your web browser’s tab or your to share your desktop under the “Sources” tab by using the “+” button.

Next, a pop up will appear asking which video feed you would like to use to display Kynto.
Connect OBS to Facebook
It is quite easy to connect OBS to Facebook. Below we will guide you on the setup.
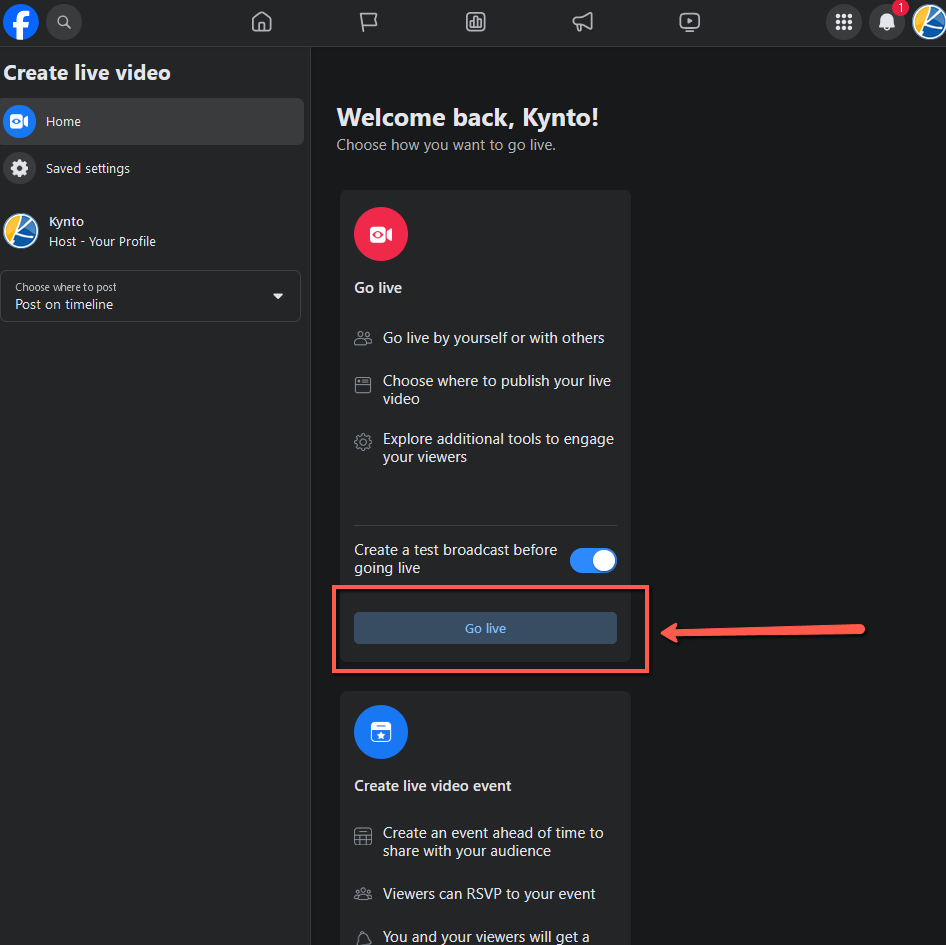
To start the process, click the Get Stream Key button as shown below.
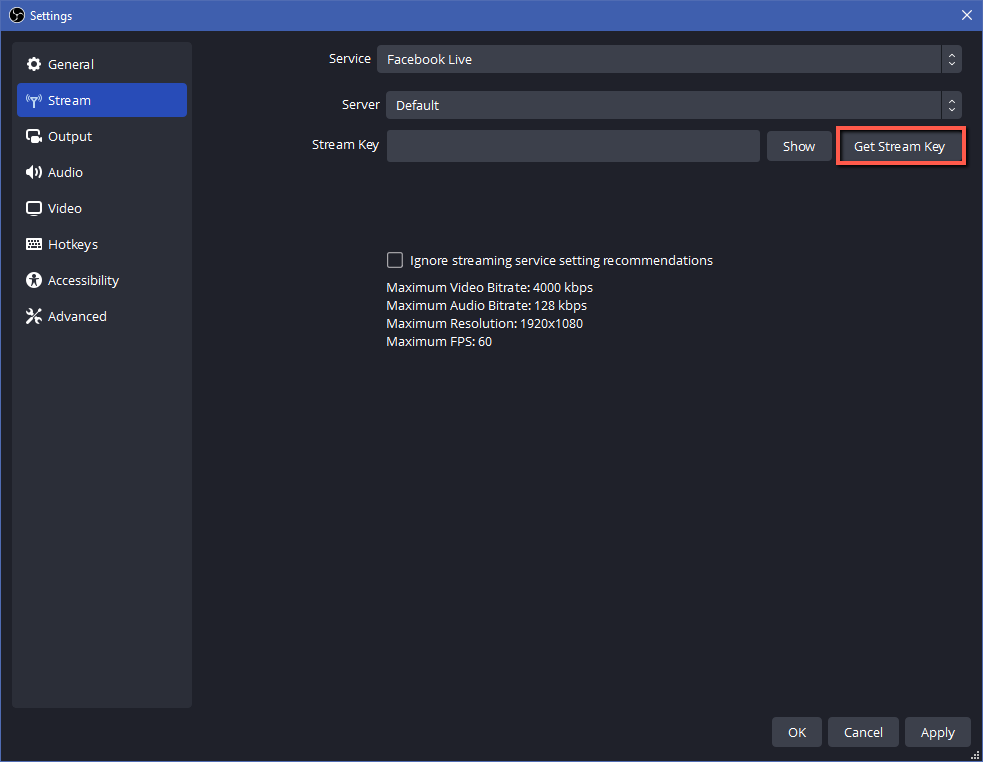
Once you click the Get Stream Key Button, the Facebook login

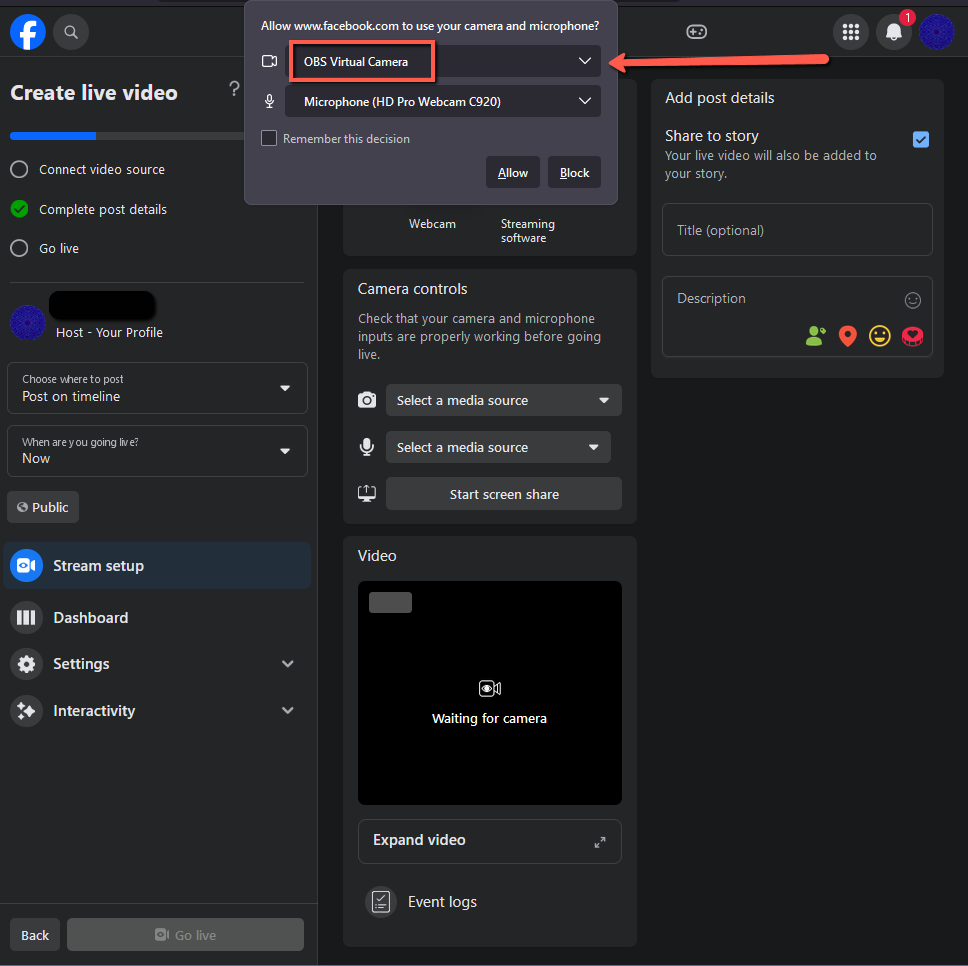
After you log in, Facebook will prompt you to ask what camera source you would like as the primary camera feed. Make sure to select the OBS Virtual Camera from the drop down menu. You can also select the Remember this Desision option to force the OBS camera feed to always select the OBS Virtual Camera each time you start a live stream.
Once you have selected the right video feed, proceed by clicking the Allow button.
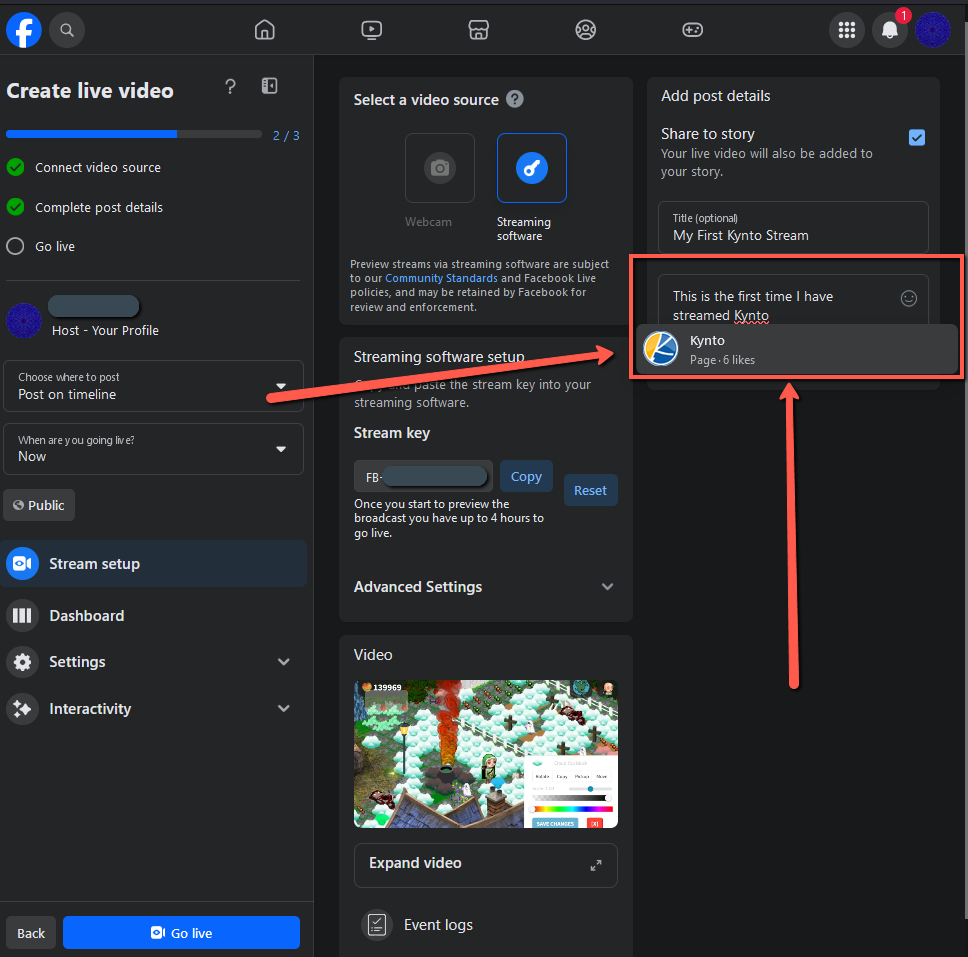
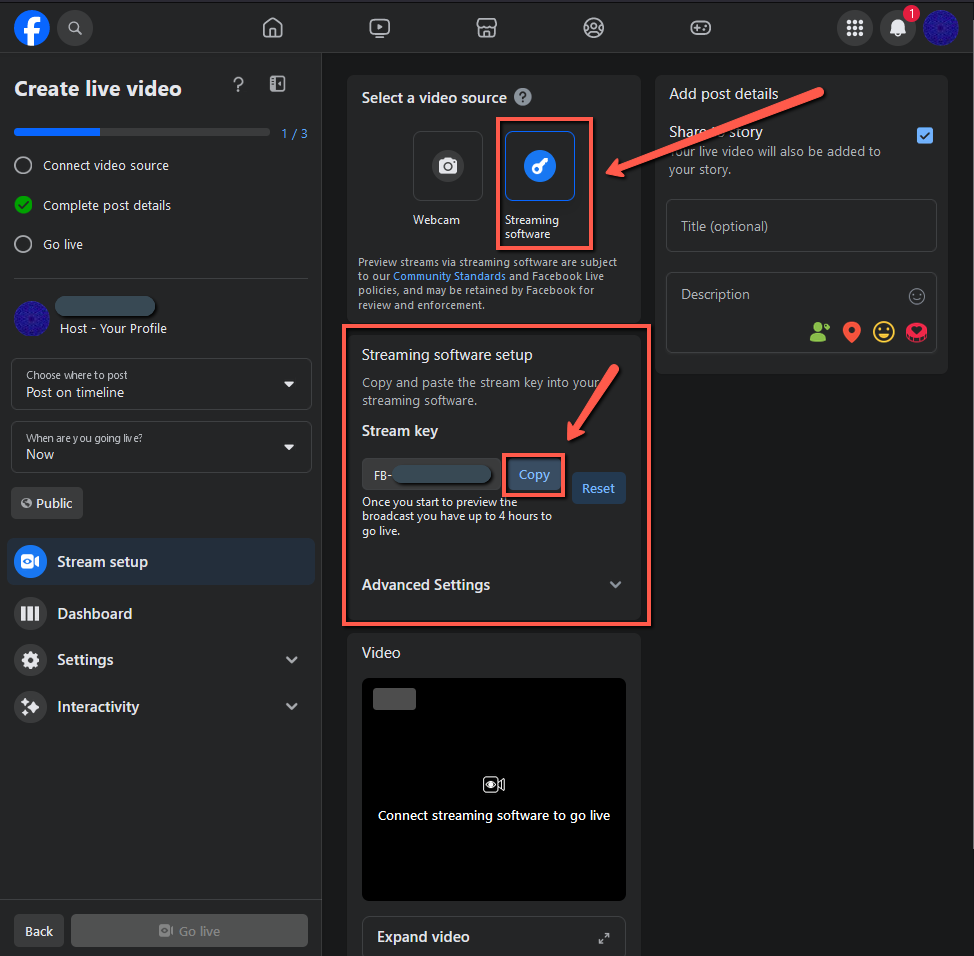
Once you have your camera feed selected, you can go ahead and select the Streaming Software option under the “Select a Video Source” option at the top of the page to tell Facebook that you will be streaming from OBS and not your devices internal webcam.
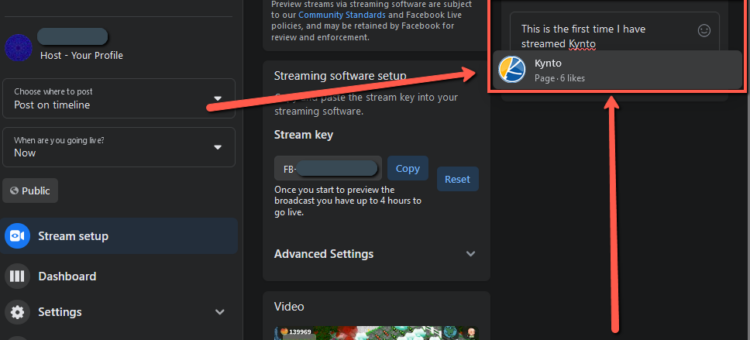
Once you select the Streaming Software option, you will see a field labeled Streaming Software Setup. In this field you will see the Stream Key that should look similar to “FB-XXXXXXXXX”. This key is your personal streaming key and is not to be shared with anyone else besides OBS. You can easily click the “Copy” button to copy the key to your computers clipboard.
Now that you have copied your Stream Key from your Facebook account. You should now navigate back to OBS. In the settings menu, paste your Stream Key into the settings field to pair your Facebook stream with OBS.